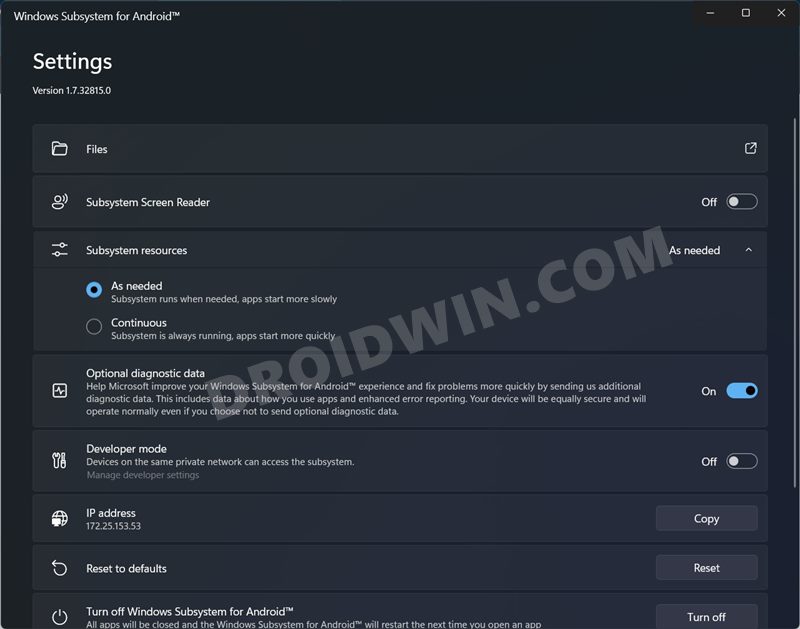
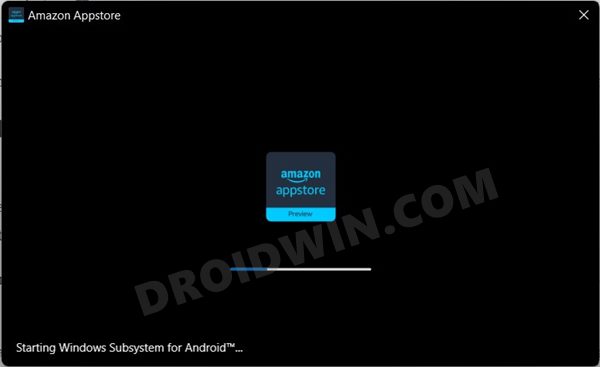
Well, at least not for me and a few users out there. A slew of complaints has lined up across various forums that users are unable to download and install the Windows Subsystem for Android on their Windows 11 PC. If you are also in the same boat, then fret not, we won’t let it sink! In this guide, we will show you a nifty workaround through which you will be able to welcome this subsystem onto your PC without any issues. So without any further ado, let’s get started.
Requirements for Windows Subsystem for Android
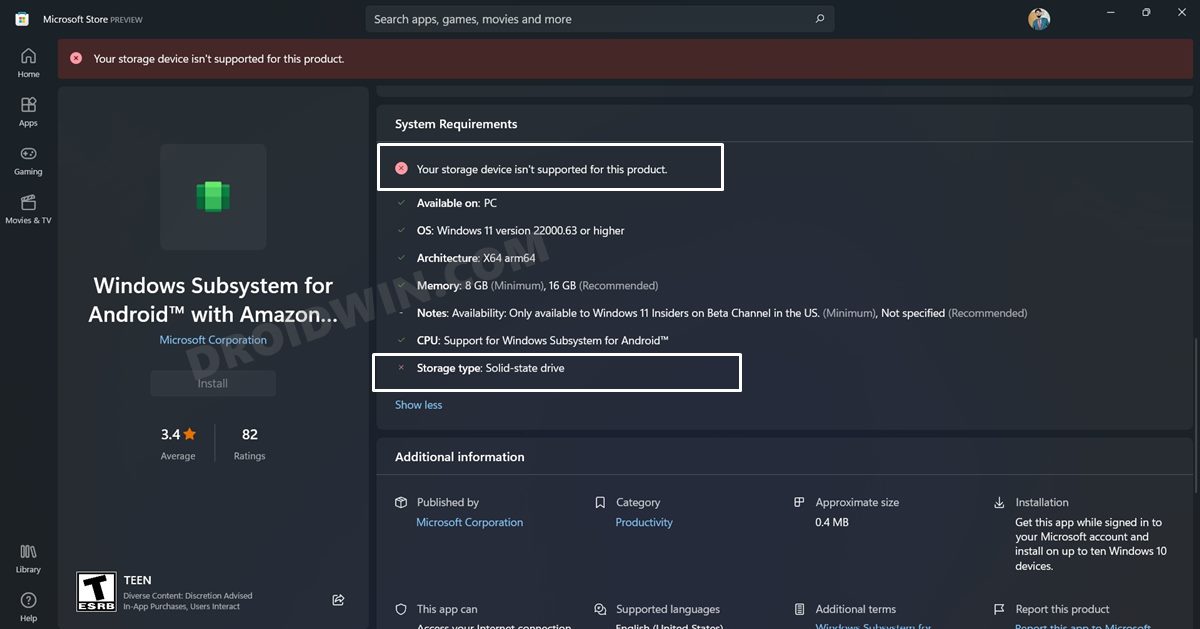
For the unawares, the straightforward method involves just heading over to the Microsoft Store and installing the Windows Subsystem for Android from there. But if your PC isn’t qualifying any one of the app’s requirements, then you wouldn’t be able to install it from the Microsoft Store. In this regard, here are all the requirements that this app wants your PC to have. [As you could see from the below image, my PC didn’t have the SSD, hence I wasn’t able to install the app from the Store].
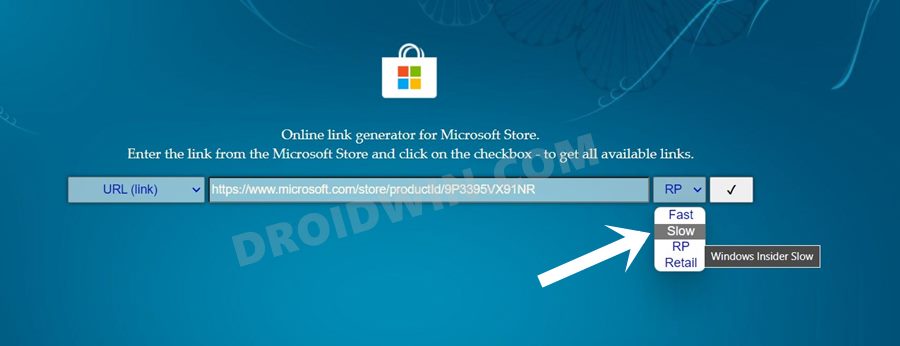
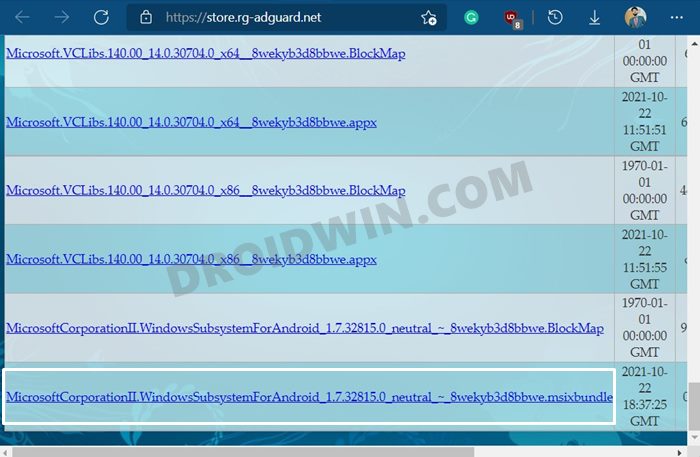
But then I realized that downloading apps from Microsoft Store isn’t the only way out! What if we get hold of the app’s Microsoft Servers download link, and download it from an alternate source? Upon testing, I found out that it was indeed possible and hence I was able to successfully install the Windows Subsystem for Android on my unsupported Windows 11 PC. And in this guide, we will show you how to do just that. Follow along for the instructions.
How to Install Windows Subsystem for Android on Unsupported PC
First off, you will have to checkmark some of the prerequisites of the list. We are listing the short and up to the point instructions for these requirements, if you wish to get in-depth steps for the same, then please refer to STEP 1 to STEP 5 of this guide.
Prerequisites
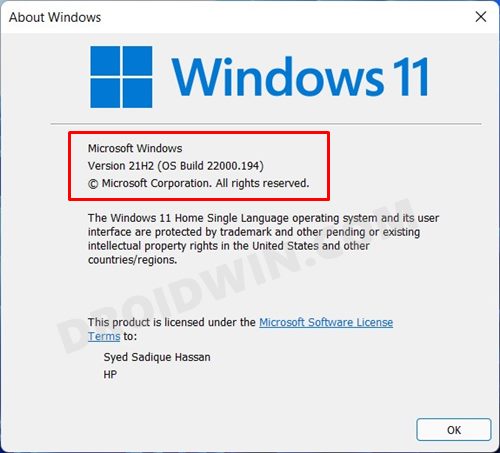
To begin with, you will need to be on the Windows 11 Beta Channel, with OS version 22000.xxx or higher. To check the current build number, open Run vis Windows+R shortcut keys, type in winver, and hit Enter. If you are on an older build, then head over to Settings > Windows Update and install the latest build right away.
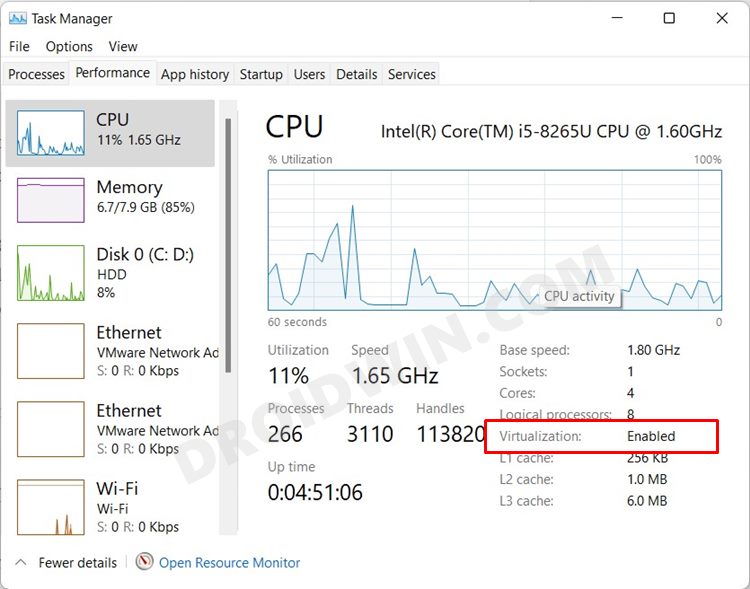
Next up, make sure that Virtualization is enabled. For that, launch Task Manager via Ctrl+Shift+Esc shortcut keys and go to the Performance Tab. Then check the status of Virtualization. if enabled, well and good. Otherwise, boot to BIOS, go to the Advanced tab and enable the Virtualization Technology.
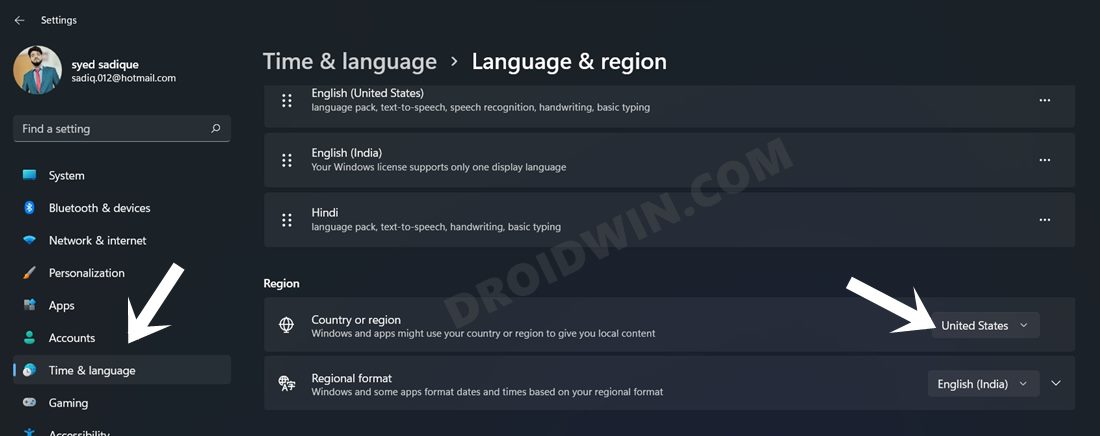
Moreover, as of now, this feature is only available to US users. So you would have to change your PC’s region to the US. To do so, head over to Settings > Time & language > Language & region > Select US from the drop-down menu.
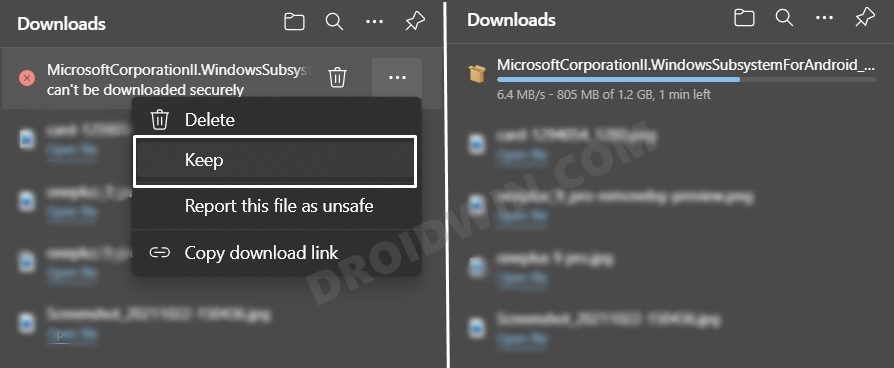
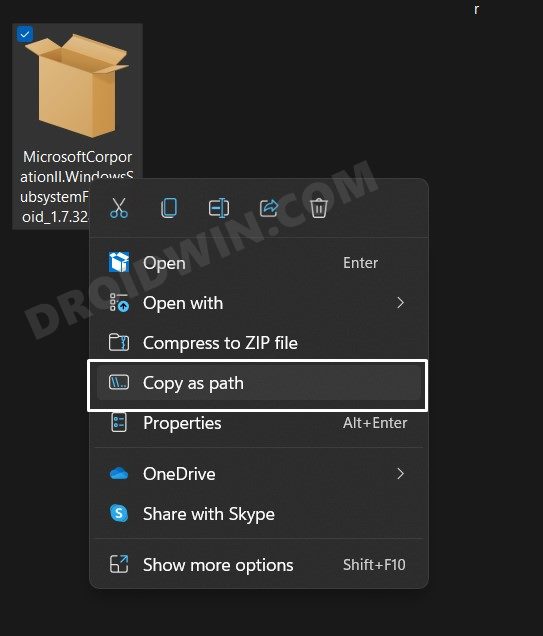
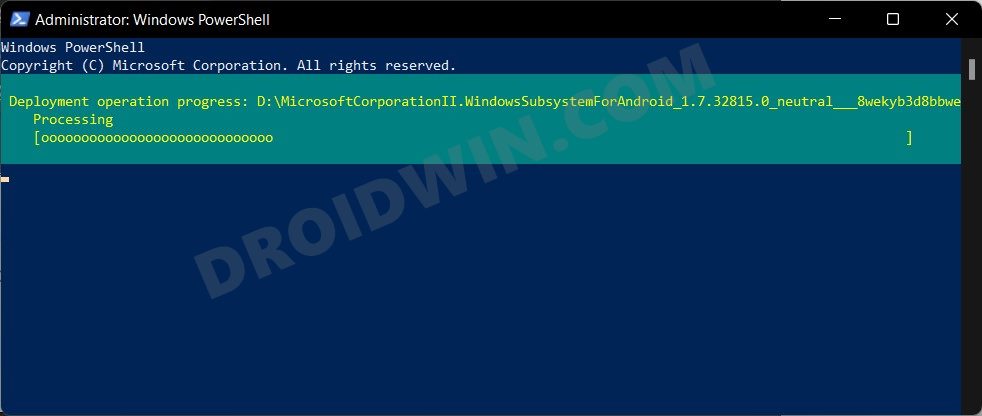
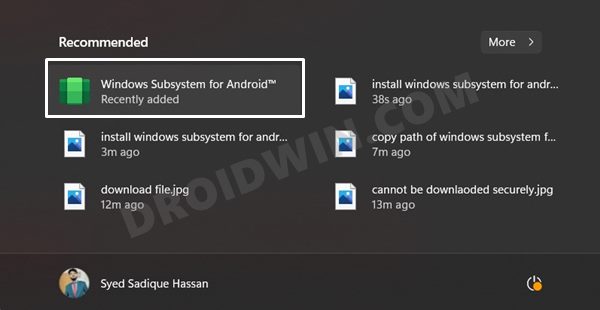
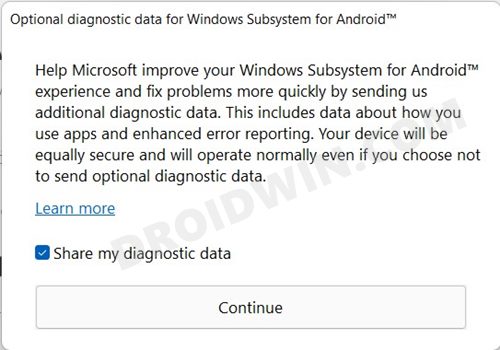
Install Windows Subsystem for Android without Microsoft Store
So with this, we round off the guide on how you could install the Windows Subsystem for Android on an unsupported PC. If you have any queries concerning the aforementioned steps, do let us know in the comments. We will get back to you with a solution at the earliest.
Drag and Drop for Taskbar in Windows 11: Officially Removed?!Where is the Never Combine Taskbar Buttons in Windows 11How to Disable the Windows 11 License Check, Officially!Windows 11 Screen Lags/Stutters/Freezes: How to Fix
About Chief Editor
